There are two things you should know about this post before you read it:
- I should have posted this back in October when I made these for Halloween.
- This is going to be long!
I came across this recipe on a really cool website called Jelly Shot Test Kitchen. And I was really excited to find out that they are based in Minnesota! I knew I had to make these for an event with some friends and these were a huge hit. I should tell you that these aren’t hard to make, but they are tedious and a bit time consuming. But definitely worth it in the end! You’ll look like a kitchen diva when you make these!
Here’s what you’ll need:
- Jello – I used orange flavored for this one
- Gelatine
- Carnation condensed milk
- Food coloring
- Cooking spray
- Ice cube trays or mini cupcake pan or another type of mold shape you want to use

I’m going to give you some general instructions. But for all the measurements and more detailed instructions, you should refer to the link above. They are the experts!
First, spray your mold with cooking spray and then wipe out the excess.
Now, you add some water to a pan and then add the gelatine to it until it dissolves a bit. Then heat on low until it completely dissolves, stirring the whole time.


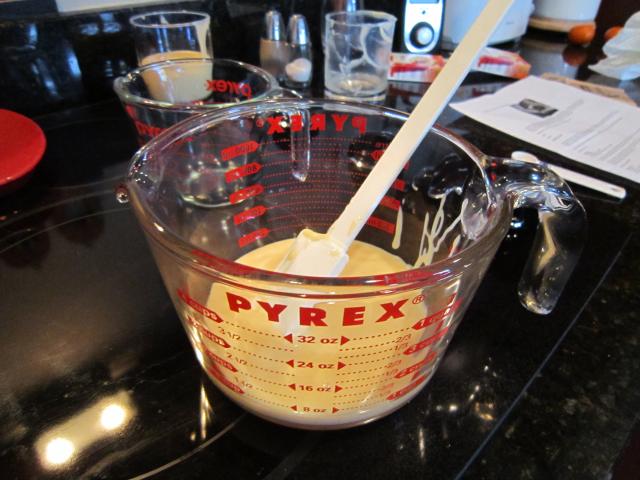
Meanwhile, add the condensed milk to a microwave safe container (you may need this later on).


After the gelatine is dissolved, add it to the condensed milk and stir until it is all combined.


Now scoop a tiny bit into the molds.


Then you stick your molds in the fridge to solidify while you are working on the next layer.
Now you want to cover the container with the condensed milk in it. We used tin foil over the top, then wrapped it in a couple dish towels. We really didn’t want it to solidify. If it does, that is when the microwave bowl comes in handy because you’ll need to slowly heat it up so it is easier to pour and stir for the final layer.


Now you make the orange jello layer. You’ll use jello, water and gelatin. This is done similarly to the way you did the water and gelatin….just follow the directions on the link I gave you above. ![]()


Then fill the molds with the orange jello.


One thing I learned while doing this was don’t go back and try to add more orange to the molds. If you do, then it tends to melt the white layer too much and then the layers mix a bit. See:

Now stick the molds back into the fridge to harden.
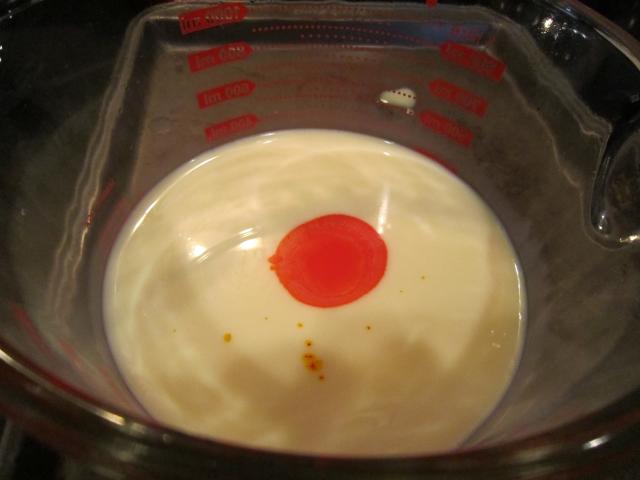
After they have been hardening for a while in the fridge, you’ll want to unwrap the condensed milk you set aside and add food coloring to it so it can be your final layer!


Now, spoon the colored condensed milk into the molds.


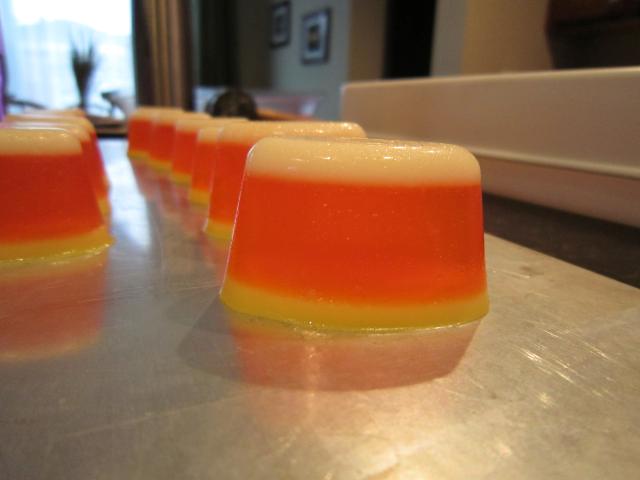
Here’s a picture where you can see all of the layers.

Now you put the molds back into the fridge to, you guessed it, harden.
After they are good and solid, you’re ready to take them out of their molds. They should slide out fairly easily since you put the cooking spray into the molds to help with the sticking. I ended up using my fingers a bit to get them out. But they came out without too much effort. The ones in the ice cube trays were a little harder to get out because it was a smaller space.


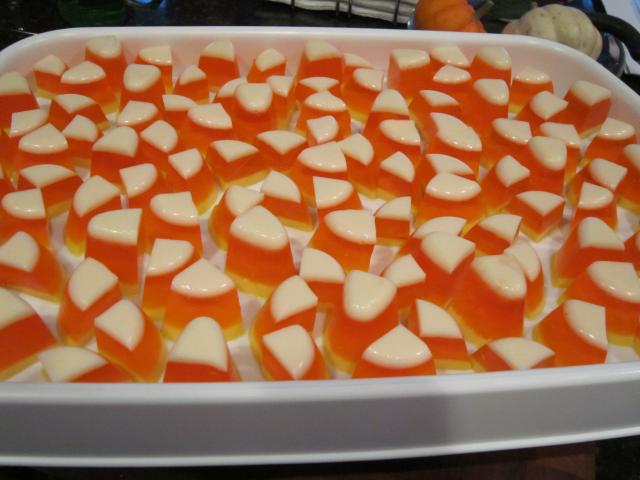
I decided to cut the tall, skinny ones in half to make them easier to eat, and I cut the ones from the cupcake pan into quarters for the same reason. Then I added them to a try (with a lid for easier portability).

Pretty cool, huh? They look like candy corn!
Now, because I loved this idea so much, I made them for my shower back in November. I did them in green, pink and blue which were the colors my friends told me were the shower colors. I think they turned out pretty cute! I used strawberry jello for these.

So there’s proof you can do them in any color you want. All I did differently, was make sure I put the condensed milk in two containers after mixing in the gelatine so I could color one blue and one green.
I hope you make some of these. They’ll be a big hit for a kids party or a gathering. And if you do make some, please send me pictures! I would love to see what you made!
