Skip to content

ANDI HAYS

— my little corner of randomness —

Menu
  • Here’s What I Have to Say
  • Tidbits About Me
  • Sites I’ve Helped With
  • Disclaimer
Menu

Category: Food

Zesty Chicken & Rice Skillet

Posted on April 29, 2011 by Andi

20110415-015543.jpg

Here is yet another meal from Kraft Foods. I have made this twice now. The first time I followed the recipe almost exactly. The only change I made was to use chicken broth instead of water and a bouillon cube. The second time I used brown rice (because that is what I had) and only green peppers (because that is what I had) and added onions per Chuck’s request. The brown rice took a little longer to soak up all the juices than the white rice did, but it was just as tasty!

This is a new go-to meal for me and you should definitely give this easy and flavorful meal a try!

Read more

I may have a greenish thumb after all!

Posted on April 28, 2011 by Andi

I went to check on my plants yesterday and found a tiny little tomato plant had sprouted. Today I checked on them to find all these!

20110428-022645.jpg

These are all tomatoes. I also saw that an onion had sprouted.

20110428-022750.jpg

There are a couple more that I can see starting to peek up through the dirt! How very exciting!

Read more

Gardening

Posted on April 26, 2011 by Andi

I’ve decided to try my hand at gardening. Well, other than lilies and other plants that don’t need much care! 🙂 Ow that I am home, I wanted to try growing some fruits and vegetables. I went this weekend and picked out some seeds to start planting and I couldn’t be more excited about it.

I got potatoes, a raspberry plant, onions, bell peppers (I forgot to get jalapeño peppers) tomatoes, spinach, cilantro, carrots….things that I actually eat. This way I thought I would be more excited about growing things that I like and would use. I hope it will be much more rewarding this way.

20110425-110112.jpg

I can always try more things if these go well. We’ll see! But this seemed like a good start.

I planted them in this little tray and then added a cover to keep them toasty. I guess you just need to spray them with a squirt bottle. It actually works quite well.

20110425-110308.jpg

20110425-110320.jpg

My next task is to submit a plan for where the garden will be. We need to do that in the neighborhood. We are also planning to build a patio, so maybe we’ll send them in at the same time. The seeds aren’t quite ready to be outside anyway.

I’ll post some updates of my plants as they grow. Wish me luck! And send green thumb thoughts my way!

Read more

Fiesta Chicken Pasta

Posted on April 15, 2011April 15, 2011 by Andi

20110413-085450.jpg

I have been making lots of meals from Kraft Foods lately. I made this the other night and it was really tasty. The things I did differently were to add 1/2 mild and 1/2 spicy salsa. It had a kick, but wasn’t overwhelmingly spicy. I also added a little more pasta and a little more dressing.

We both went back for seconds and I would make this again. Also, I have started keeping track of our meals. I put them on our calendars. I need to be better and plan a few days in advance instead of writing the meal on the calendar the day I make the meal. It’s a work in progress! 🙂

Read more

Foil-Pack Chicken Fajita Dinner

Posted on April 11, 2011 by Andi

20110411-093713.jpg

Kraft Foods makes a bunch of foil dinners. I think they are brilliant and so simple. This one was really tasty. I made 4 foil packs and had two for leftovers. I ate mine just the way it was. Just dumped it on a plate. Chuck put his in tortilla shells. We both enjoyed the meal and I will make this meal again.

Give a foil pack dinner a try. Really simple to make and extremely easy clean-up!

Read more

Quick-Fix Cheeseburger Meatloaf

Posted on April 7, 2011April 7, 2011 by Andi

20110407-080326.jpg

This was another meal from Kraft Foods. It was really simple to make and very tasty. I did add a little worchestershire sauce to it. I think all beef meals need some!

I made this with some mashed taters and we gobbled it up! I highly recommend giving it a try!

Read more

No Fuss Tex-Mex Roll-Ups

Posted on April 5, 2011April 5, 2011 by Andi

20110405-062436.jpg

After many weeks of sitting on the couch, eating out and zero exercise, it’s time to start eating better.

I’ve always loved Kraft Foods website. But I have started to make more meals lately. They are quite simple without too many ingredients and I can usually get a meal done between feedings.

This meal was pretty darn tasty. I modified it slightly and added a little extra cheese, a little water when cooking the peppers and corn. I also only used 6 tortillas instead of 8. I liked them more filled up. Next time I’ll add onions, too. But we both loved it and I even have some leftovers.

Kraft has a section on their website for budget meals and this came from the 1Bag, 5 Dinners – Chicken & Beef section. I am definitely going to use this idea again and try the other meals. They have other protein combinations you can see on the left side when you click the link above.

Overall, yum! I have made a couple other meals, too, so I’ll work on sharing those with you soon!

Read more

A Few Random Things

Posted on February 12, 2011February 6, 2011 by Andi
  • At night, my hands would get really swollen. I wouldn’t be able to make a fist or anything. It didn’t look very good either. One day I remembered to take a picture. They are kind of scary! (Not quite as scary as my feet, though!)

WP_000117

  • Next, A friend of mine brought some things to me at work last week. She really wanted me to have the baby. So she brought me Hot Tamales and some spicy chips. My favorite part of the chips were that they said “Industrial Strength” on the bottom. You can’t really see that in the picture.

WP_000119

  • And if you haven’t tried these Oreos yet, you really should. They are SO yummy!

  • A few weeks ago, Chuck and I were walking around the Mall of America and we saw the new displays they had at LEGO Land. I thought they were pretty cool. And they were enormous!

WP_000098

WP_000099

  • Speaking of enormous, a couple months ago, I thought I was HUGE! Then I looked at some pictures from a couple months ago and compared them with more recent pictures. Clearly, I was not HUGE then. I obviously didn’t know I could get, uh, HUGE-er!

Happy randomness for the day!

Read more

Jello Candy Corn

Posted on February 10, 2011 by Andi

There are two things you should know about this post before you read it:

  1. I should have posted this back in October when I made these for Halloween.
  2. This is going to be long!

I came across this recipe on a really cool website called Jelly Shot Test Kitchen. And I was really excited to find out that they are based in Minnesota! I knew I had to make these for an event with some friends and these were a huge hit. I should tell you that these aren’t hard to make, but they are tedious and a bit time consuming. But definitely worth it in the end! You’ll look like a kitchen diva when you make these!

Here’s what you’ll need:

  • Jello – I used orange flavored for this one
  • Gelatine
  • Carnation condensed milk
  • Food coloring
  • Cooking spray
  • Ice cube trays or mini cupcake pan or another type of mold shape you want to use

I’m going to give you some general instructions. But for all the measurements and more detailed instructions, you should refer to the link above. They are the experts!


First, spray your mold with cooking spray and then wipe out the excess.

Now, you add some water to a pan and then add the gelatine to it until it dissolves a bit. Then heat on low until it completely dissolves, stirring the whole time.

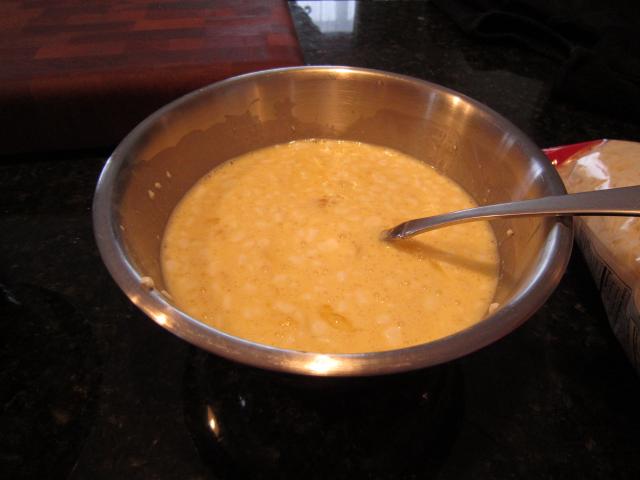
Meanwhile, add the condensed milk to a microwave safe container (you may need this later on).

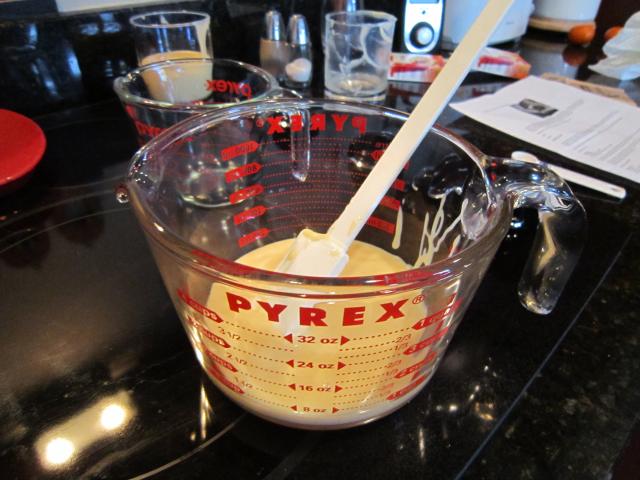
After the gelatine is dissolved, add it to the condensed milk and stir until it is all combined.

Now scoop a tiny bit into the molds.

Then you stick your molds in the fridge to solidify while you are working on the next layer.

Now you want to cover the container with the condensed milk in it. We used tin foil over the top, then wrapped it in a couple dish towels. We really didn’t want it to solidify. If it does, that is when the microwave bowl comes in handy because you’ll need to slowly heat it up so it is easier to pour and stir for the final layer.

Now you make the orange jello layer. You’ll use jello, water and gelatin. This is done similarly to the way you did the water and gelatin….just follow the directions on the link I gave you above. Smile 

Then fill the molds with the orange jello.

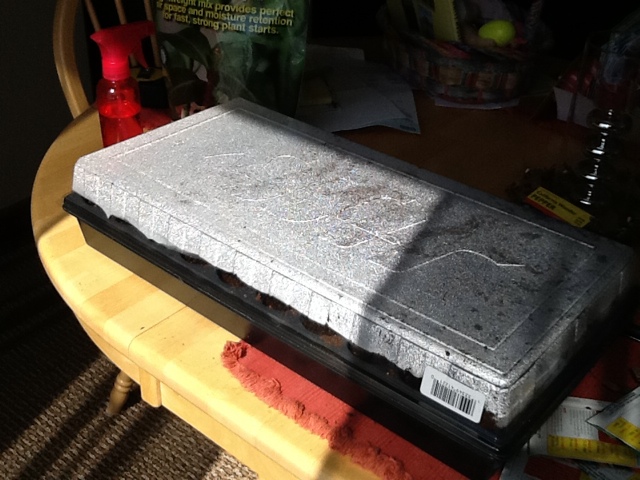
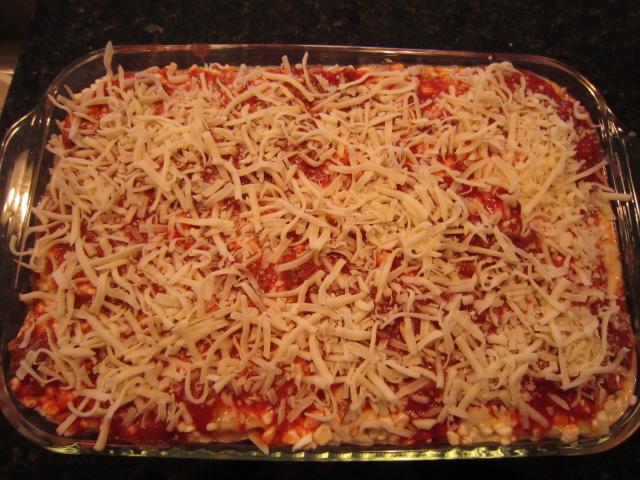
One thing I learned while doing this was don’t go back and try to add more orange to the molds.  If you do, then it tends to melt the white layer too much and then the layers mix a bit. See:

Now stick the molds back into the fridge to harden.

After they have been hardening for a while in the fridge, you’ll want to unwrap the condensed milk you set aside and add food coloring to it so it can be your final layer!

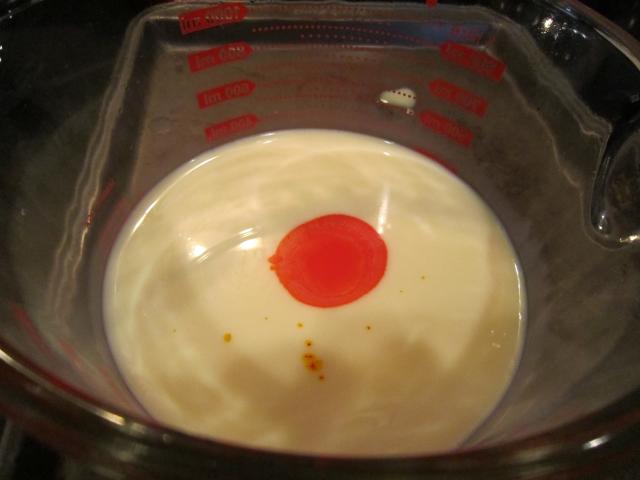
Now, spoon the colored condensed milk into the molds.

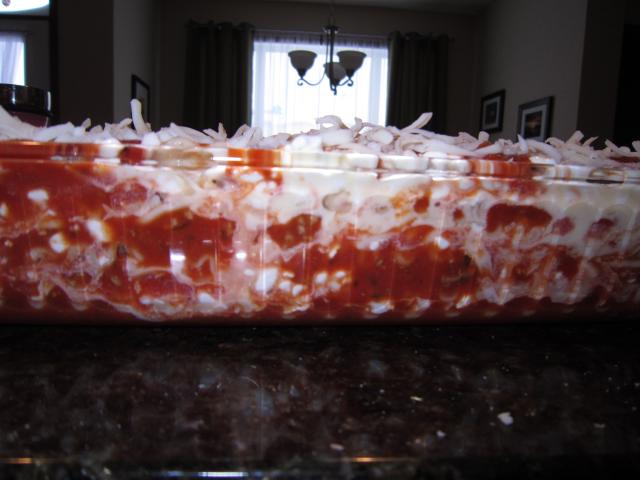
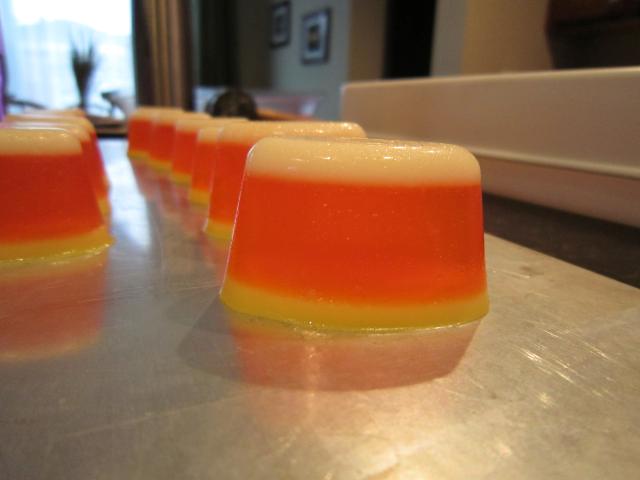
Here’s a picture where you can see all of the layers.

Now you put the molds back into the fridge to, you guessed it, harden.

After they are good and solid, you’re ready to take them out of their molds. They should slide out fairly easily since you put the cooking spray into the molds to help with the sticking. I ended up using my fingers a bit to get them out. But they came out without too much effort. The ones in the ice cube trays were a little harder to get out because it was a smaller space.

I decided to cut the tall, skinny ones in half to make them easier to eat, and I cut the ones from the cupcake pan into quarters for the same reason. Then I added them to a try (with a lid for easier portability).

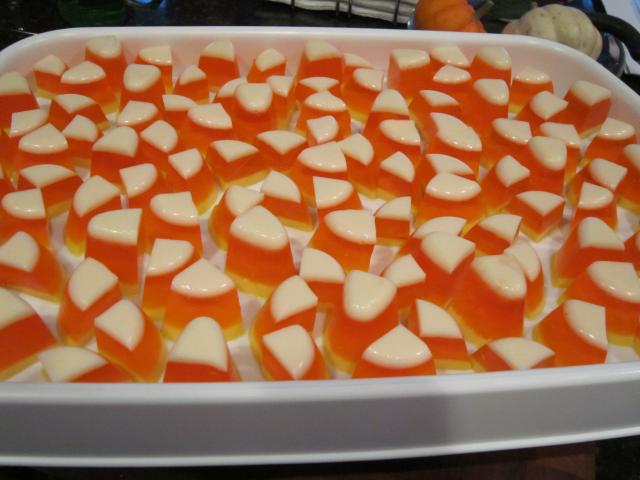
Pretty cool, huh? They look like candy corn!

Now, because I loved this idea so much, I made them for my shower back in November. I did them in green, pink and blue which were the colors my friends told me were the shower colors. I think they turned out pretty cute! I used strawberry jello for these.

So there’s proof you can do them in any color you want. All I did differently, was make sure I put the condensed milk in two containers after mixing in the gelatine so I could color one blue and one green.

I hope you make some of these. They’ll be a big hit for a kids party or a gathering. And if you do make some, please send me pictures! I would love to see what you made!

Read more

Lasagna

Posted on February 7, 2011 by Andi

Chuck’s mom makes the most wonderful lasagna ever! I have started to use her recipe as my own. And I make it for all sorts of events. I am planning to make some soon to freeze and keep for meals. One of the little things that will come in handy with a baby around. But there’s a chance Chuck’s mom will make some for us when she is here!

What you’ll need:

  • 12 oz or 1 lb box noodles
  • 1 lb hamburger (at least)
  • 1 big can Hunts spaghetti sauce
  • 15 oz can regular tomato sauce
  • 3 eggs
  • 1 cup cottage cheese (I use a little more than this)
  • 2 cups mozarella cheese (I don’t measure out the cheese, I just use what I think is sufficient)

First, cook and drain the lasagna noodles. I also run them under cold water after draining them. This will stop the cooking and keep them from burning your fingers when you are working with them. I just leave them in the sink and grab them from there.

While the noodles are cooking, brown the hamburger. While that is browning, add the spaghetti and tomato sauce in a bowl. When the hamburger has browned, add it to the bowl with the sauce and mix together.

Then add the eggs and cottage cheese into a bowl and mix them together. This looks a bit disgusting, but once you get over that, it’s a wonderful addition!

Get the cheese ready, too. I usually just grab it out of the bag, but you could put it in a bowl if you prefer.

Now, you get to start the layering process.

I like to add a little bit of the sauce to the pan first to keep the noodles from sticking.

Next, lay down three noodles into the pan.

Now comes the egg/cottage cheese mixture. I usually put a spoonfull or so on each of the noodles. This helps keep them from getting dried out.

Now spoon on some of the sauce.

And then comes the cheese.

Then you start the whole process over again. And keep repeating until you run out of something or get to the top! Smile 

Here you can see all the layers. Or really just how gooey and delicious it looks.

Now you have two options:

  1. Bake it right now at 350* for about 30 minutes. You can cover it with tin foil if you don’t want it to get to brown or leave it uncovered. You can always start uncovered and then throw some foil on it if it is starting to get too brown and it’s not done cooking yet. You’ll want to see it bubbling all over. I usually stick a fork in the center to make sure it’s hot.
  2. Stick it in the fridge overnight or until you are ready to cook it then bake at 350* for about an hour. You can use the same cover or don’t cover method as I listed above. It’s up to you.

Also, I forgot to take a picture of this when I took it out of the over. I was just way too excited to eat it. But it looks the same as the picture above, just with melted cheese on the top. Smile

Then you just sit back and enjoy the deliciousness! And don’t forget to make some bread to go along with it!

Hopefully I don’t get in trouble for giving away the mother-in-law’s family recipe. It’s simple and utterly fantastic!

Do you have a family recipe you wouldn’t be able to live without? Or a recipe that you pass on to everyone you know?

Read more

Posts navigation

  • Previous
  • 1
  • …
  • 4
  • 5
  • 6
  • 7
  • 8
  • 9
  • 10
  • …
  • 19
  • Next
Facebook
Twitter
YouTube
Pinterest
LinkedIn
Instagram
GitHub

Instagram

Links

  • MadeByChuck.com
  • My Wish List
  • Our Photo Gallery
  • Wish List – Alex
  • Wish List – Dannie
  • Wish List – Maddie

Categories

Alex Baby Journal Books Crafts Dannie Food GiST Glendalough Lake House Lessons Maddie Parenting Products & Places Randomness Seattle Social Distancing Tech

Archives

Meta

  • Log in
  • Entries feed
  • Comments feed
  • WordPress.org
© 2025 ANDI HAYS | Powered by Superbs Personal Blog theme